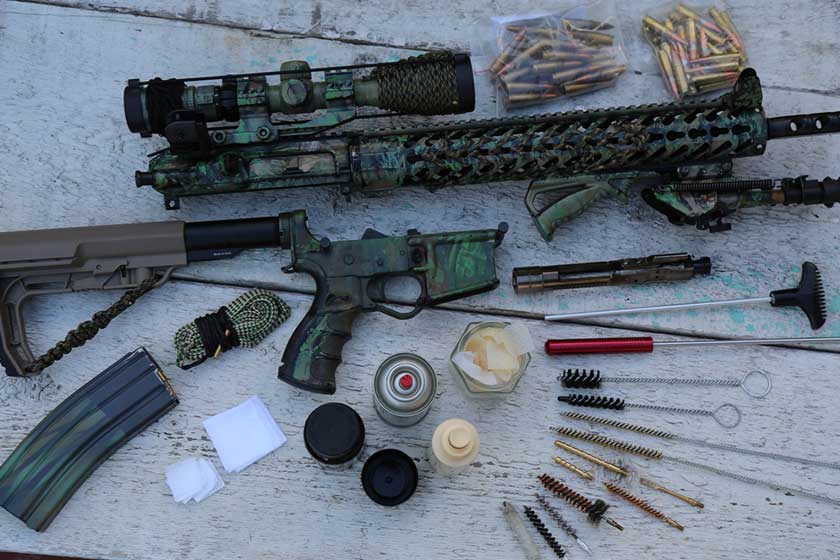
How To Clean An AR-15 In 7 Steps
Cleaning an AR-15 is an important part of gun ownership, as it ensures that the rifle continues to function reliably and accurately. In this post, we'll outline the steps to follow to properly clean and maintain your AR-15, from disassembling the weapon to cleaning each component and reassembling the rifle for optimal performance. Whether you're a seasoned gun owner or new to the world of firearms, this guide will help you keep your AR-15 in top condition.
Step 1: Clear the Weapon
Before cleaning your AR-15, it's important to clear the weapon to ensure that it is safe to handle. Remove the magazine and clear the chamber by visually inspecting it and running a cleaning rod down the barrel to ensure that there are no rounds or obstructions.
Step 2: Disassemble the Weapon
Next, you'll need to disassemble the AR-15 to access the various components that need to be cleaned. Remove the upper receiver from the lower receiver, and then separate the bolt carrier group from the upper receiver.
Step 3: Clean the Upper Receiver
To clean the upper receiver, start by using a bore brush and a cleaning solvent to clean the bore of the barrel. After scrubbing the bore, use a patch to remove any debris or fouling that remains.
Next, use a nylon brush and cleaning solvent to clean the inside of the upper receiver. Be sure to clean all of the nooks and crannies, as well as the charging handle and the forward assist.
Step 4: Clean the Bolt Carrier Group
The bolt carrier group is one of the most important components of the AR-15, and it requires special attention when cleaning. Start by using a cleaning solvent and a nylon brush to clean the exterior of the bolt carrier group. Then, use a cleaning rod and bore brush to clean the interior of the bolt carrier group.
Next, use a patch to remove any debris or fouling that remains in the bolt carrier group. Finally, use a light coat of lubricant on the bolt carrier group to prevent corrosion and ensure smooth operation.
Step 5: Clean the Lower Receiver
To clean the lower receiver, use a cleaning solvent and a nylon brush to clean the trigger group and other internal components. Be sure to clean all of the nooks and crannies, as well as the buffer tube and the magazine well.
Step 6: Reassemble the Weapon
Once all of the components have been thoroughly cleaned, it's time to reassemble the AR-15. Start by reattaching the bolt carrier group to the upper receiver, and then reattaching the upper receiver to the lower receiver.
Step 7: Test Fire the Weapon
After cleaning and reassembling the AR-15, it's important to test-fire the weapon to ensure that it is functioning properly. Take the rifle to a shooting range or other safe location, and test fire the weapon to ensure that it is functioning reliably and accurately.
Cleaning an AR-15 is a crucial part of owning and maintaining this popular rifle. By following these simple steps, you can ensure that your AR-15 remains in top condition, and continues to function reliably and accurately for years to come.

